Monday 6 April 2015

Little Princess Poncho


A second poncho already! I know I know.... but I just had this yarn laying around for so long... screaming at me to make a poncho out of it.

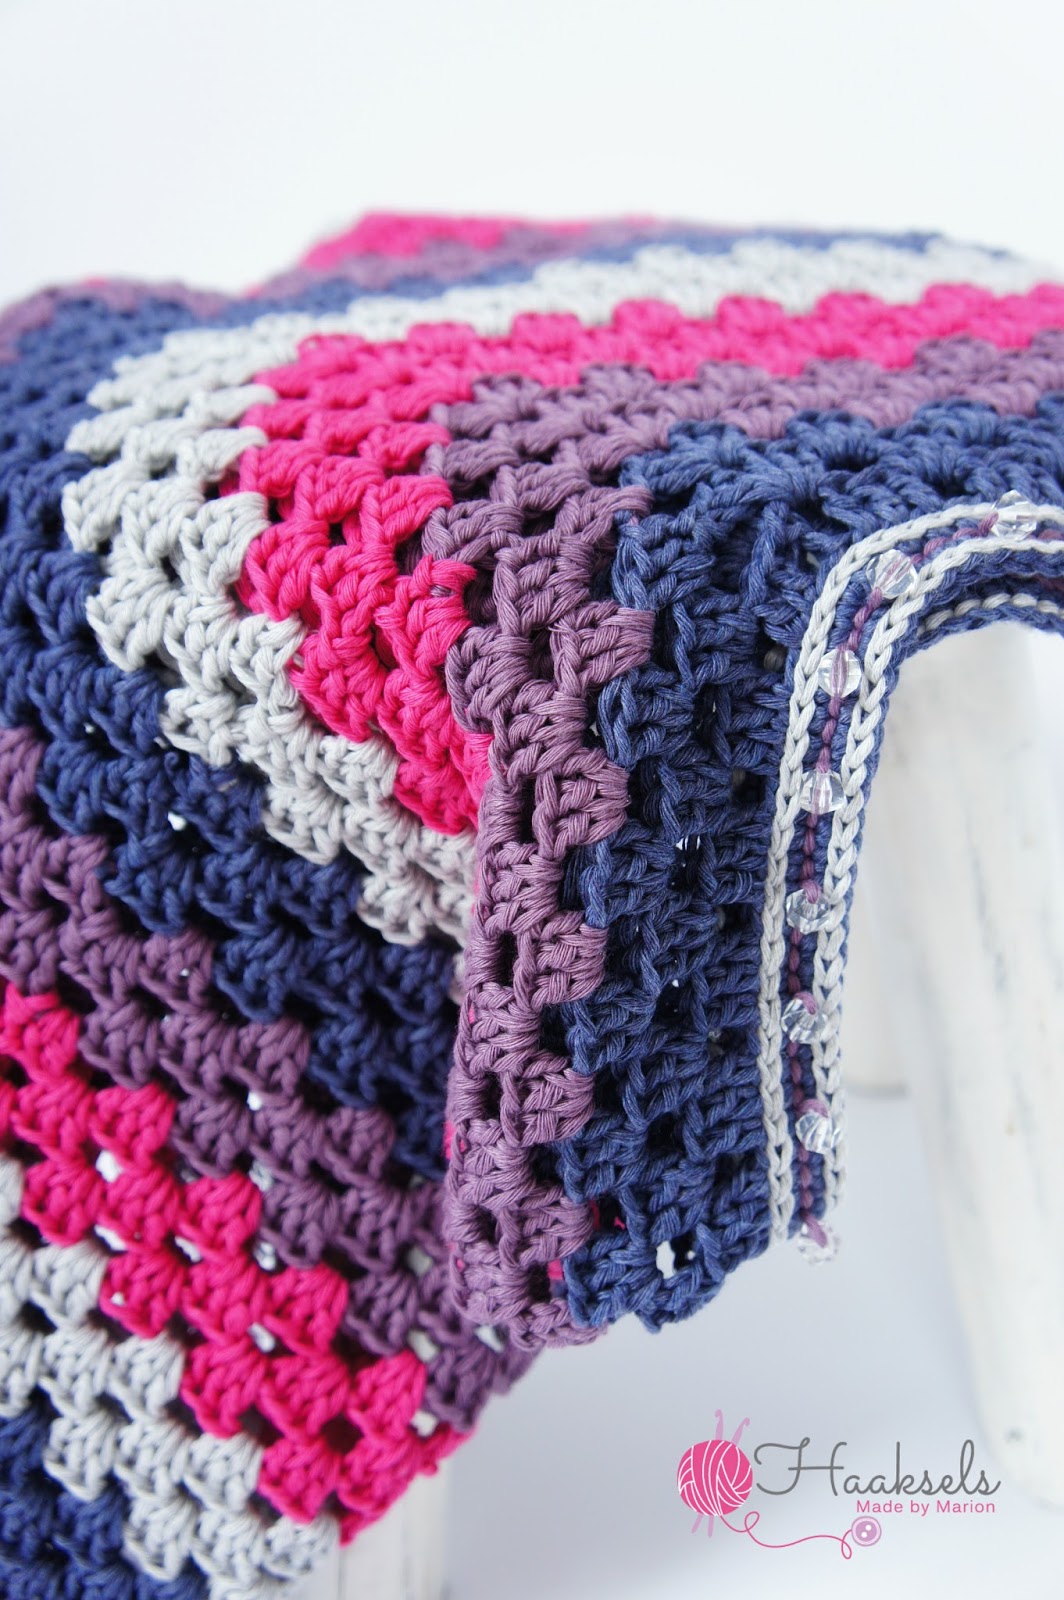
This time I finished 3 rows and then changed to another colour.
I used a polyester / cotton mix. 
Cotton is not my favorite yarn to crochet with since it tends to split while I work with it. 
But it does give a very clean look to your work.


My daugther is into living the life of a princess right now, so I decided to add some diamonds to the design, as every Little Princess should have some bling-bling.


I used the beads during my crochet work.
Just add the needed amount of beads on to your yarn before you start your crochet round where you want to place them.
Be sure to place enough beads onto your yarn, in case you're not sure, place extra so you don't run short. (else you'll have to finish off and attach new yarn with beads along the way)


Slide your beads back a bit and attach yarn as usual. Crochet untill you reach the spot where you want to place your bead, slide the bead towards your knot and place your next stitch behind / after your bead. I worked a round of slip stitches at the back side of my work and added the beads in the stitch at the front. (this sounds harder than it is)

Here's a video, DROPS made about the technique of placing beads in your work.


I hope I gave you a bit of new inspiration for a nice project.
You can read all about the pattern in this blogpost on www.haaksels.nl

Have fun!

Saturday 4 April 2015

Romantic Poncho


I think this is a great piece of garment to add to your spring wardrobe.
Airy but yet adding a bit of warmth when you need it.


You can turn it into any style by selecting the yarn that fits your mood.
For this piece I used a yarn with a sparkle, 
It is really subtle but reflects when sunbeams hit the poncho.


The poncho works up really quick. It took me 3 evenings.
And since it is so easy to crochet... you can easily watch a movie while you work on it.

The pattern for this poncho is free and can be found over here

Make sure your starting chain is a multiple of 8! 

Since I received some requests for writing the instructions down, instead of the schematic, here it is: 

The exact translation of the schematic:
I use US crochet terms!

Stitches used:
CH : Chain
DC: Double crochet
Sl St: Slip stitch


1. Crochet your neck by making a chain that exists of a multiple of 8, Sl st to 1st CH


2. CH3, 2DC, CH1, [3DC, CH1] to end, Sl St into 3rd CH of 1st CH3 (of course you can also use a Chainless starting DC to start with instead of the CH3)

Your last chain space will be the increasing space, search for the space on the exact opposite and mark it with a stitch marker.

3. CH3 (or chainless starting DC), 2DC (in last chain space of formar row), CH1, [3DC, CH1] untill you reach the marked CH space, [3DC, CH1, 3DC] in marked CH space, [3DC, CH1] untill you reach the first space you worked in, add [3DC, CH1] to this space and Sl St to 3rd chain of your starting CH3. (or Sl St to your chainless starting DC)

When you look at the schematic (row 3 is the yellow row) The 3 circles are the starting CH3, the stretched crosses are DC's, so it is CH3 plus 2DC in same chain space)

4. Repeat row 3 untill your poncho reaches the desired length.


The additions I made to the schematic are:

1. Start with Chainless DC's, this way the opening for the head will be flexible. (with a stretch)
2. After you finished your last row, add a row of slip stitches on the edge. This way it will get a bit of extra body.
3. To the top, add a row of SC's and then slip stitch over that round, again to add a nice finishing touch and toughness
4. Add tassels


If you don't crochet but would like to have this poncho.
Just contact me.